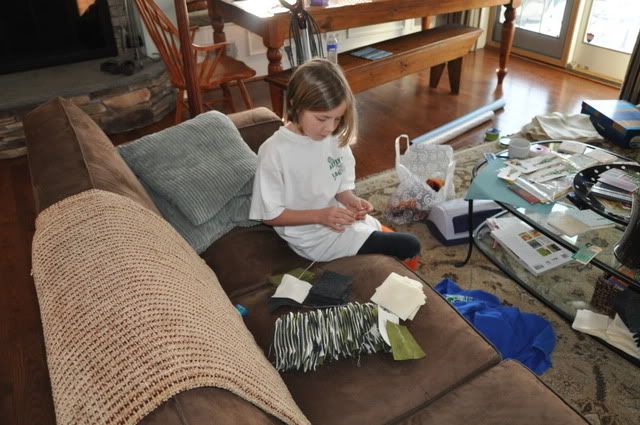
Back in December I came across a blog that showed how to make a felt garland for the holidays. (of course, now I can't find it for the life of me). Anyway, this is a great craft to do with the kids and can be finished in one sitting if you have a patient child or over several days if not)
We chose three different colors of felt to use for our garland...white, dark grey and dark green. We cut the felt into 4 inch squares--the squares do not need to be perfect.
Then we used dental floss to string the felt squares (This is a must because it is pretty stong and trust me, you don't want your garland to break...see below.) Also, the cheaper felt is easier to push a needle through.
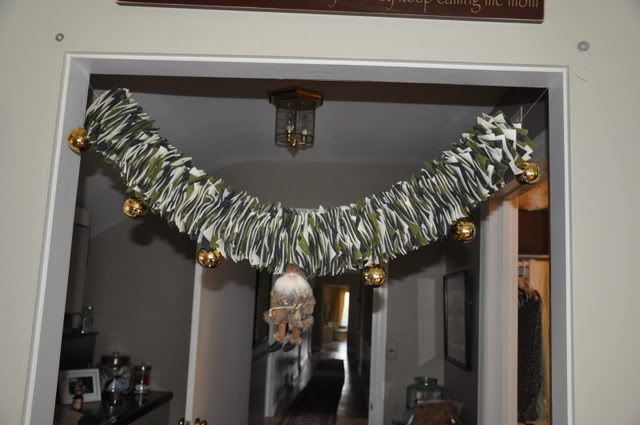
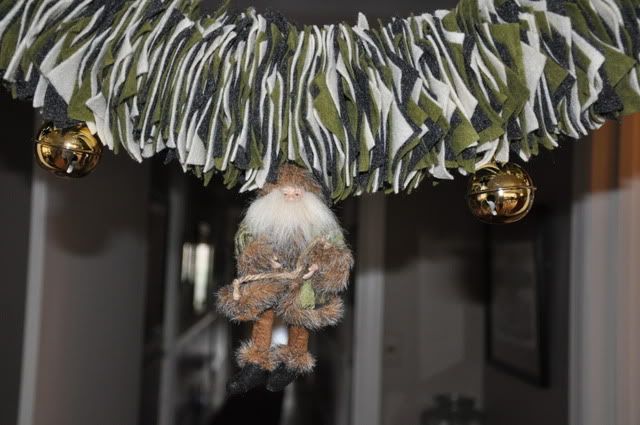
After you have finished the garland, add your embellishments. We used a Santa ornament from Michaels and gold bells. Simply use an ornament hanger to hang them from the dental floss between the squares of felt.
A close up view...
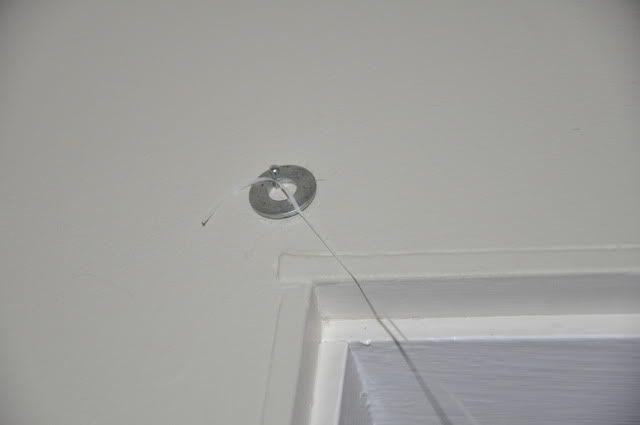
Big note to self: Make sure to tie your dental floss ends to something. I used washers for the ends of my garland. The washers made it easy to hang as well.
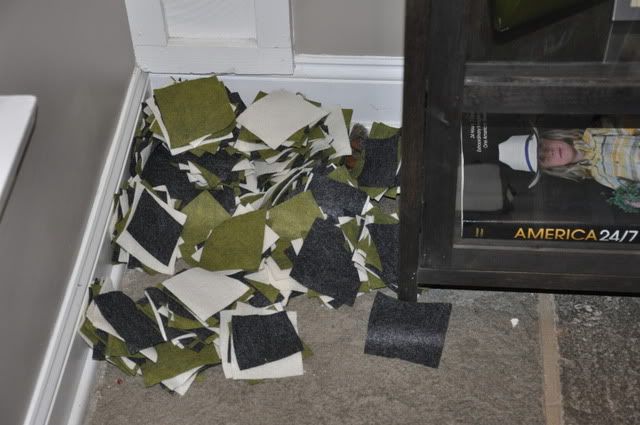
The first time I went to hang the garland and I was going to tie my ends to the nails on the wall. One end slipped off the nail and the end result was that every felt square came off the dental floss and ended up in a pile on the floor! I was not a happy camper!
This would be a great project to do for any holiday--just switch out the ornaments that you have hanging on the garland.
Happy Crafting!
Go here for more cool ideas.







2 comments:
I've been wanting to make one of these for awhile. Yours turned out just gorgeous. Thanks for the tip about the washer!! I'm so glad I don't have to learn the hard way. ;)
Oh, and thanks so much for joining my very first link party!
I would have wept when they all fell off on mine. And they would have. Looks awesome!
Post a Comment