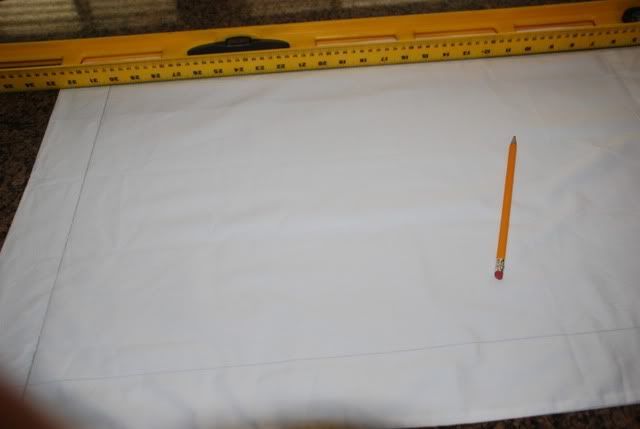
I decided that we would use the glue batik method to make autographed pillowcases. I bought a bunch of pillowcases at Walmart--They were the cheapest ones I could find. The first thing I did was draw a border around each pillowcase--the artwork would be done in the middle and the signatures would go around the outside of the artwork.
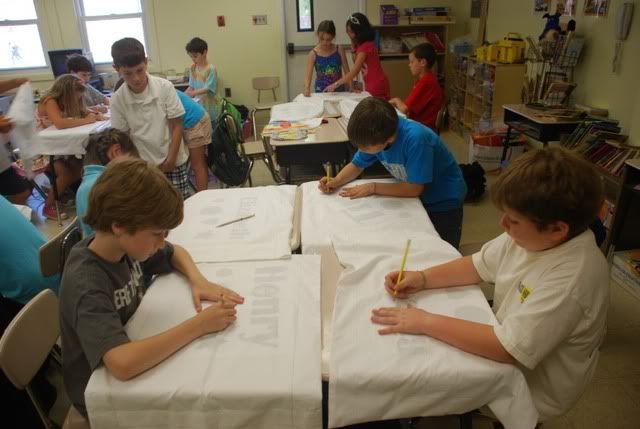
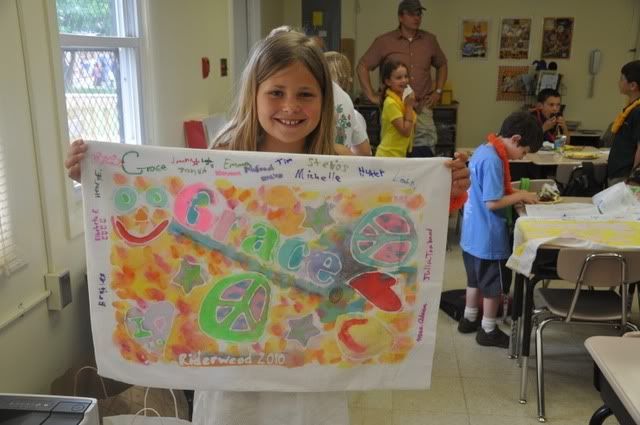
I printed out each child's name on 11 x 17 paper. I also included shapes such as stars, hearts and polka dots. The kids placed the papers inside the pillowcases and traced their names and the shapes that they wanted to have. Many of the kids got creative at this point...slanting their names, making peace signs, happy faces, etc.
Once they were done, I took the pillowcases home and traced around their designs with Elmers Washable, No-Run School Glue Gel. It's blue! Let the glue dry for at least 12 hours...it was very humid on the day that I did this so it took a little longer to dry completely. The kids could have done this step, but I had limited time in the classroom with all of the other activities I had going on.
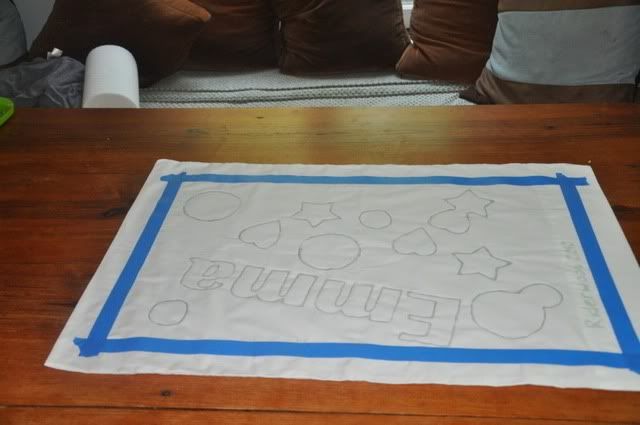
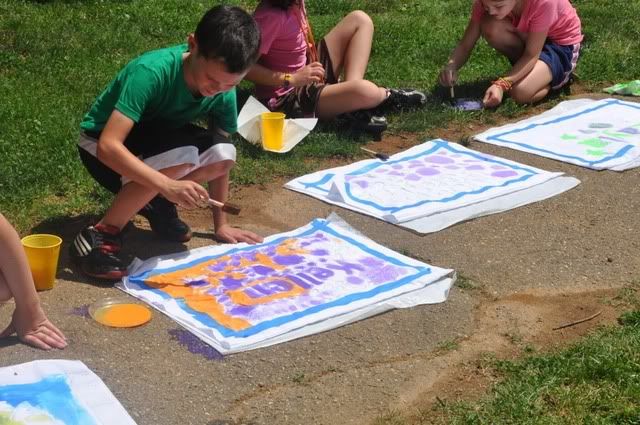
I then took a large piece of posterboard and cut it in half. I placed the posterboard in a tall kitchen garbage bag and placed that inside the pillowcase to keep the paint from bleeding through. Then it was time to paint. I used acrylic paint and fabric paint that I had left over from other projects. I water the paint down a lot and let the kids paint away. They had a ball. (note, I used painter's tape to tape off the borders. Because the paint is watered down, it tends to bleed and I was trying to keep the border paint free...it sort of worked!)
The paint dried pretty quickly, but I hung them up for awhile longer once I got home.
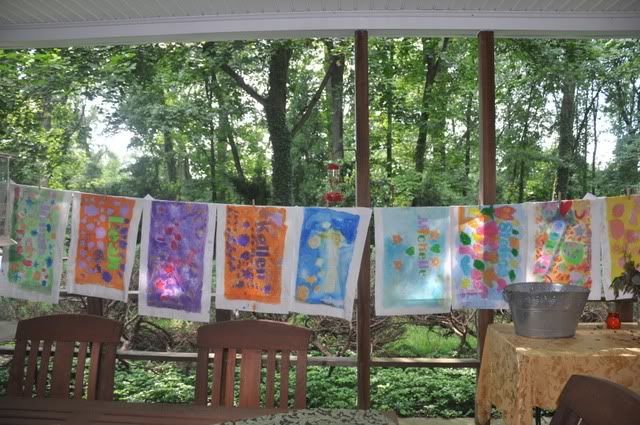
Once the paint was totally dry, I stuck them in a hot bath and let them soak until the glue washed off. I then washed and dried them. At the end-of-year party, the kids went around and signed the pillowcases using sharpies.
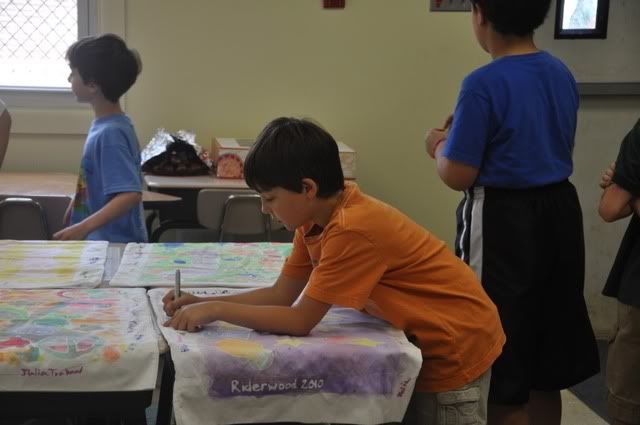
The end result...aren't they adorable? The kids loved this project and so did the parents. It's a great keepsake for the kids.
I am linking up to these blog parties today:






6 comments:
Those are awesome! And I'd love to have you as a homeroom mom in one of my girls classrooms!
This is a great idea! We did something similar with campers at a summer camp I worked at. They are so fun to have! And so unique
What a fun idea! They all turned out great.
I am hosting a giveaway and would love it if you checked it out!
Laura @ along for the ride
This is a fun idea! I'll be on the look-out for some cheap pillow cases to do this with my boys!
Sam
Mom.Undecided.
Oh my gosh! This is the best idea!!! I can't wait to make these with my kids! Thanks for the great idea!!!
www.makingmemorieswithyourkids.blogspot.com
love this idea
do link it up at our diy lunky party
http://www.finecraftguild.com/bikini-free-knitting-pattern/
rose
Post a Comment