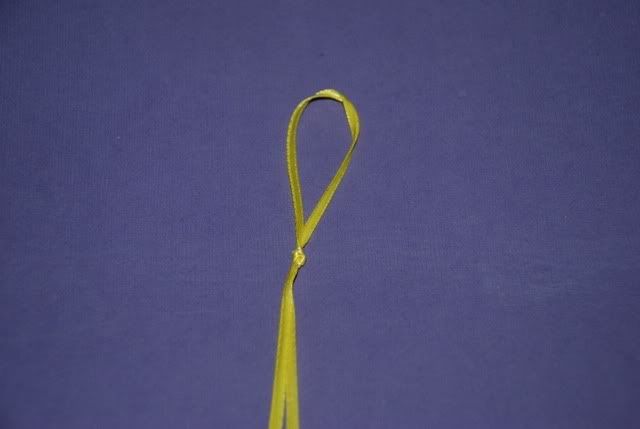
First, cut a 10 foot piece of ribbon (this will seem really long, but trust me when I say that you can always cut some off and you don't want to realize that you don't have enough ribbon when you are half way through.) Fold the ribbon in half. Tie a knot leaving a loop at the top.
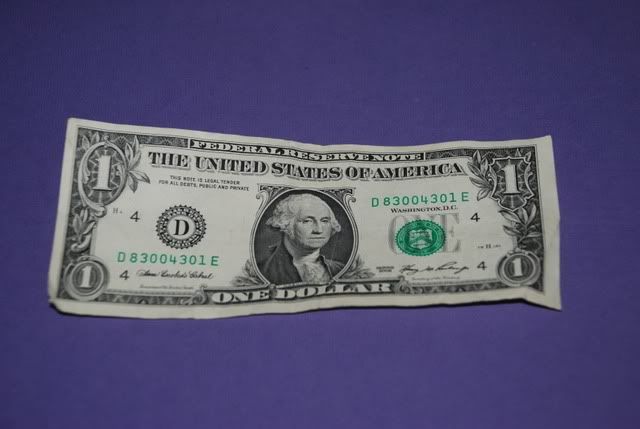
Take a dollar bill and lay it flat.
Fold the dollar bill in half horizontally. Then unfold the dollar.
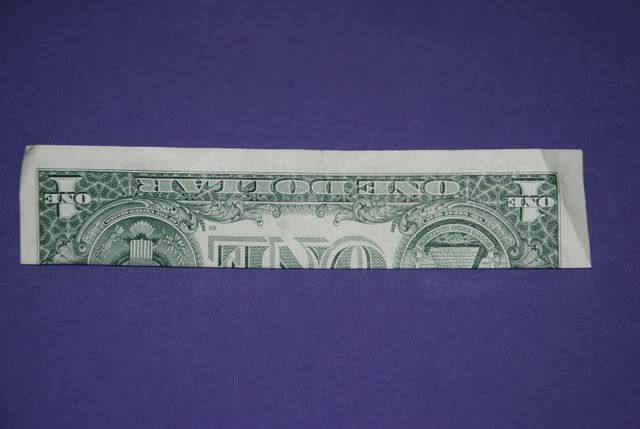
Then fold the dollar vertically. Fold the end in about 1/2-3/4 inch.
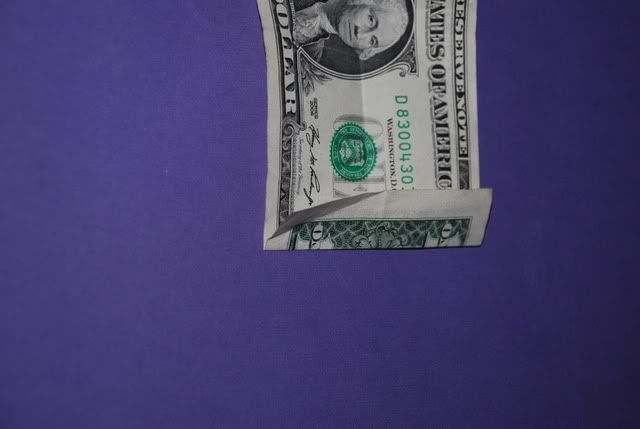
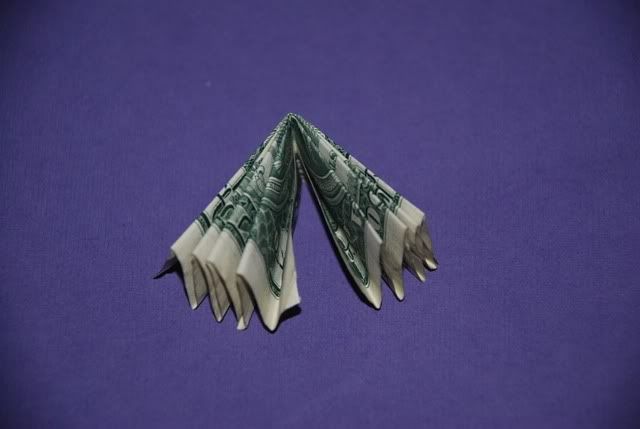
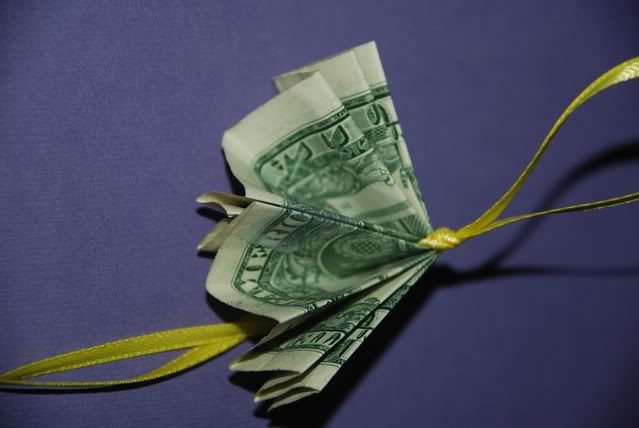
Continue to accordian fold the dollar bill until you get to the other end. (Kids love to do this part--the folds don't have to be perfect.)
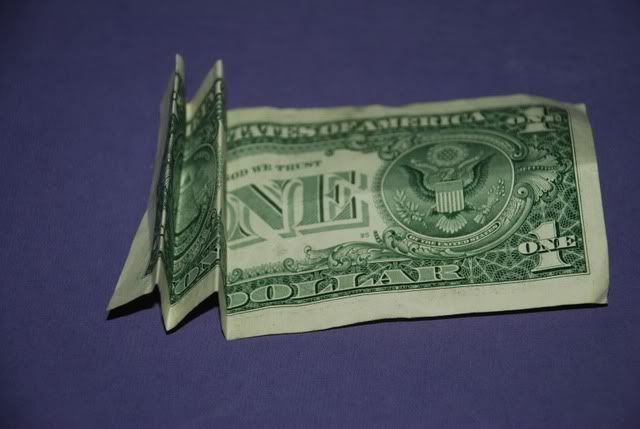
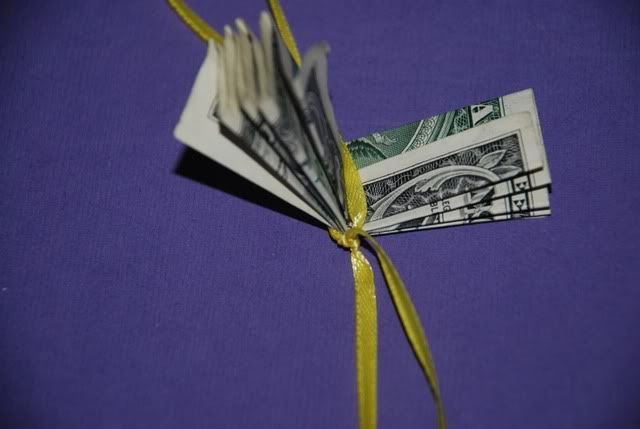
Fold the folded bill in half. (this is where the horizontal fold makes it easy to fold in half)
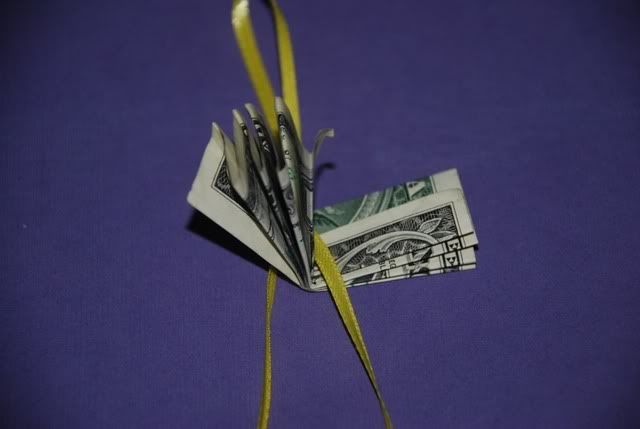
Place the dollar bill in between the two ribbons.
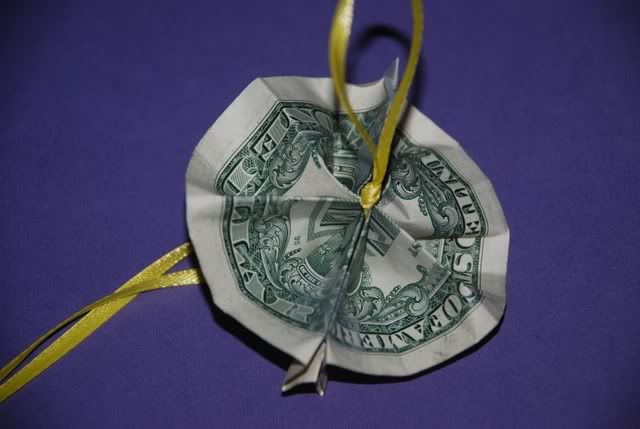
Tie a double knot at the bottom of the dollar bill.
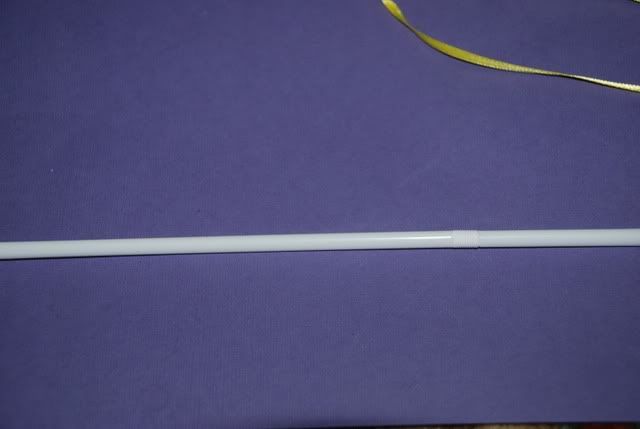
Take a plastic drinking straw.
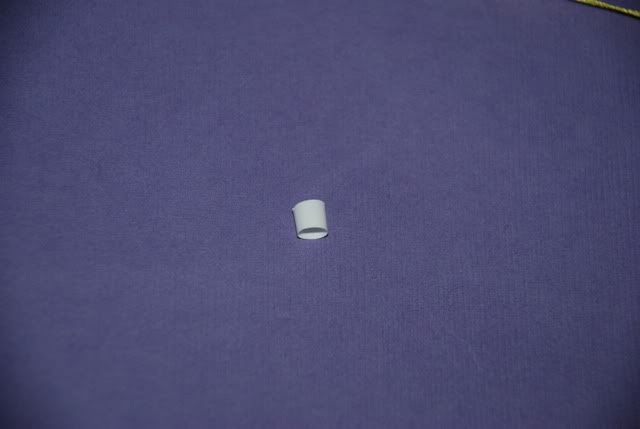
Cut a small piece (1/4 inch) of the straw.
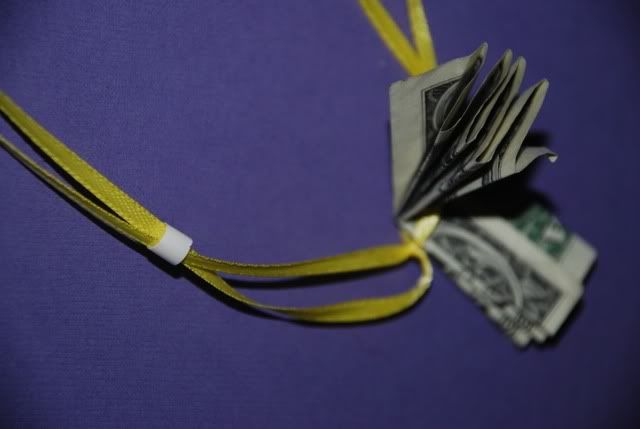
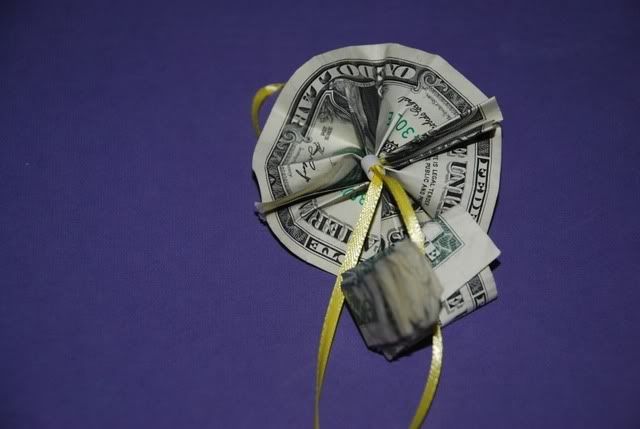
Thread the piece of straw onto the two pieces of ribbon. The straw will serve as a spacer and will give the necklace some structure.
Tape one side of the dollar bill together.
Tape the other side together.
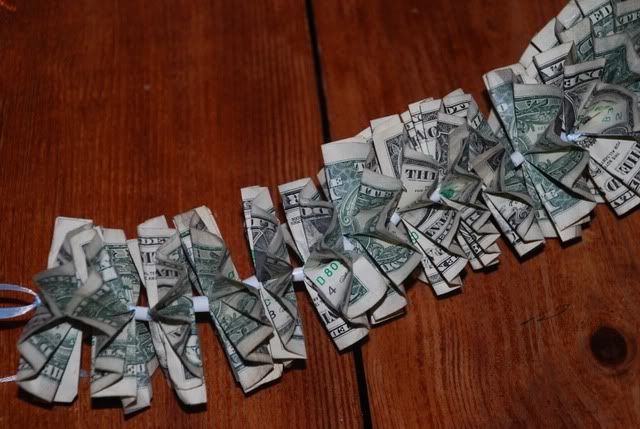
Repeat with another dollar bill.
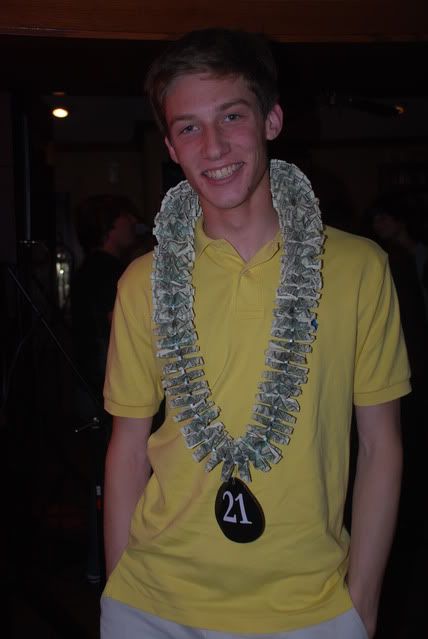
Keep adding bills until you have the amount that you want on the necklace. The necklace above has $62 on it--I was going for $100, but it would have been too long. $50 is probably the perfect amount.
When you are finished with the necklace, tie it together and cut off any extra ribbon. You can add a medallion if you want. I printed a 4" x 4" white 21 on a black background. (I used photo paper so it would be glossy) I then used my circle cutter to cut it out. I attached it to the lei using clear elastic thread.
It was a huge hit!
I am linking up to these parties today. Go check out all the great crafts:






7 comments:
Now that's a great way to handle money
I love it! What a fun gift!
How cute is this!!!! Could you please link this up on Midchix in the Crafty Mamas Flock? Oh the members will love this! Have never seen this before! SO FUN!
http://www.midchix.com/
Hi..I’m Barb….I am from TTA & Santa’s Gift Shoppe. I am your newest follower. I hope you will get a chance to visit my blog @ santasgiftshoppe.blogspot.com
& get inspired by something for your family/home. I hope you will follow me as well. Nice to meet ya new friend!!!
I love this idea! Thanks for sharing it with us. You might as well make something while watching TV, eh?
That is such a fun idea!!!! I bet he loved it!
Great tutorial. The "21" medallion is an excellent idea!
Post a Comment